
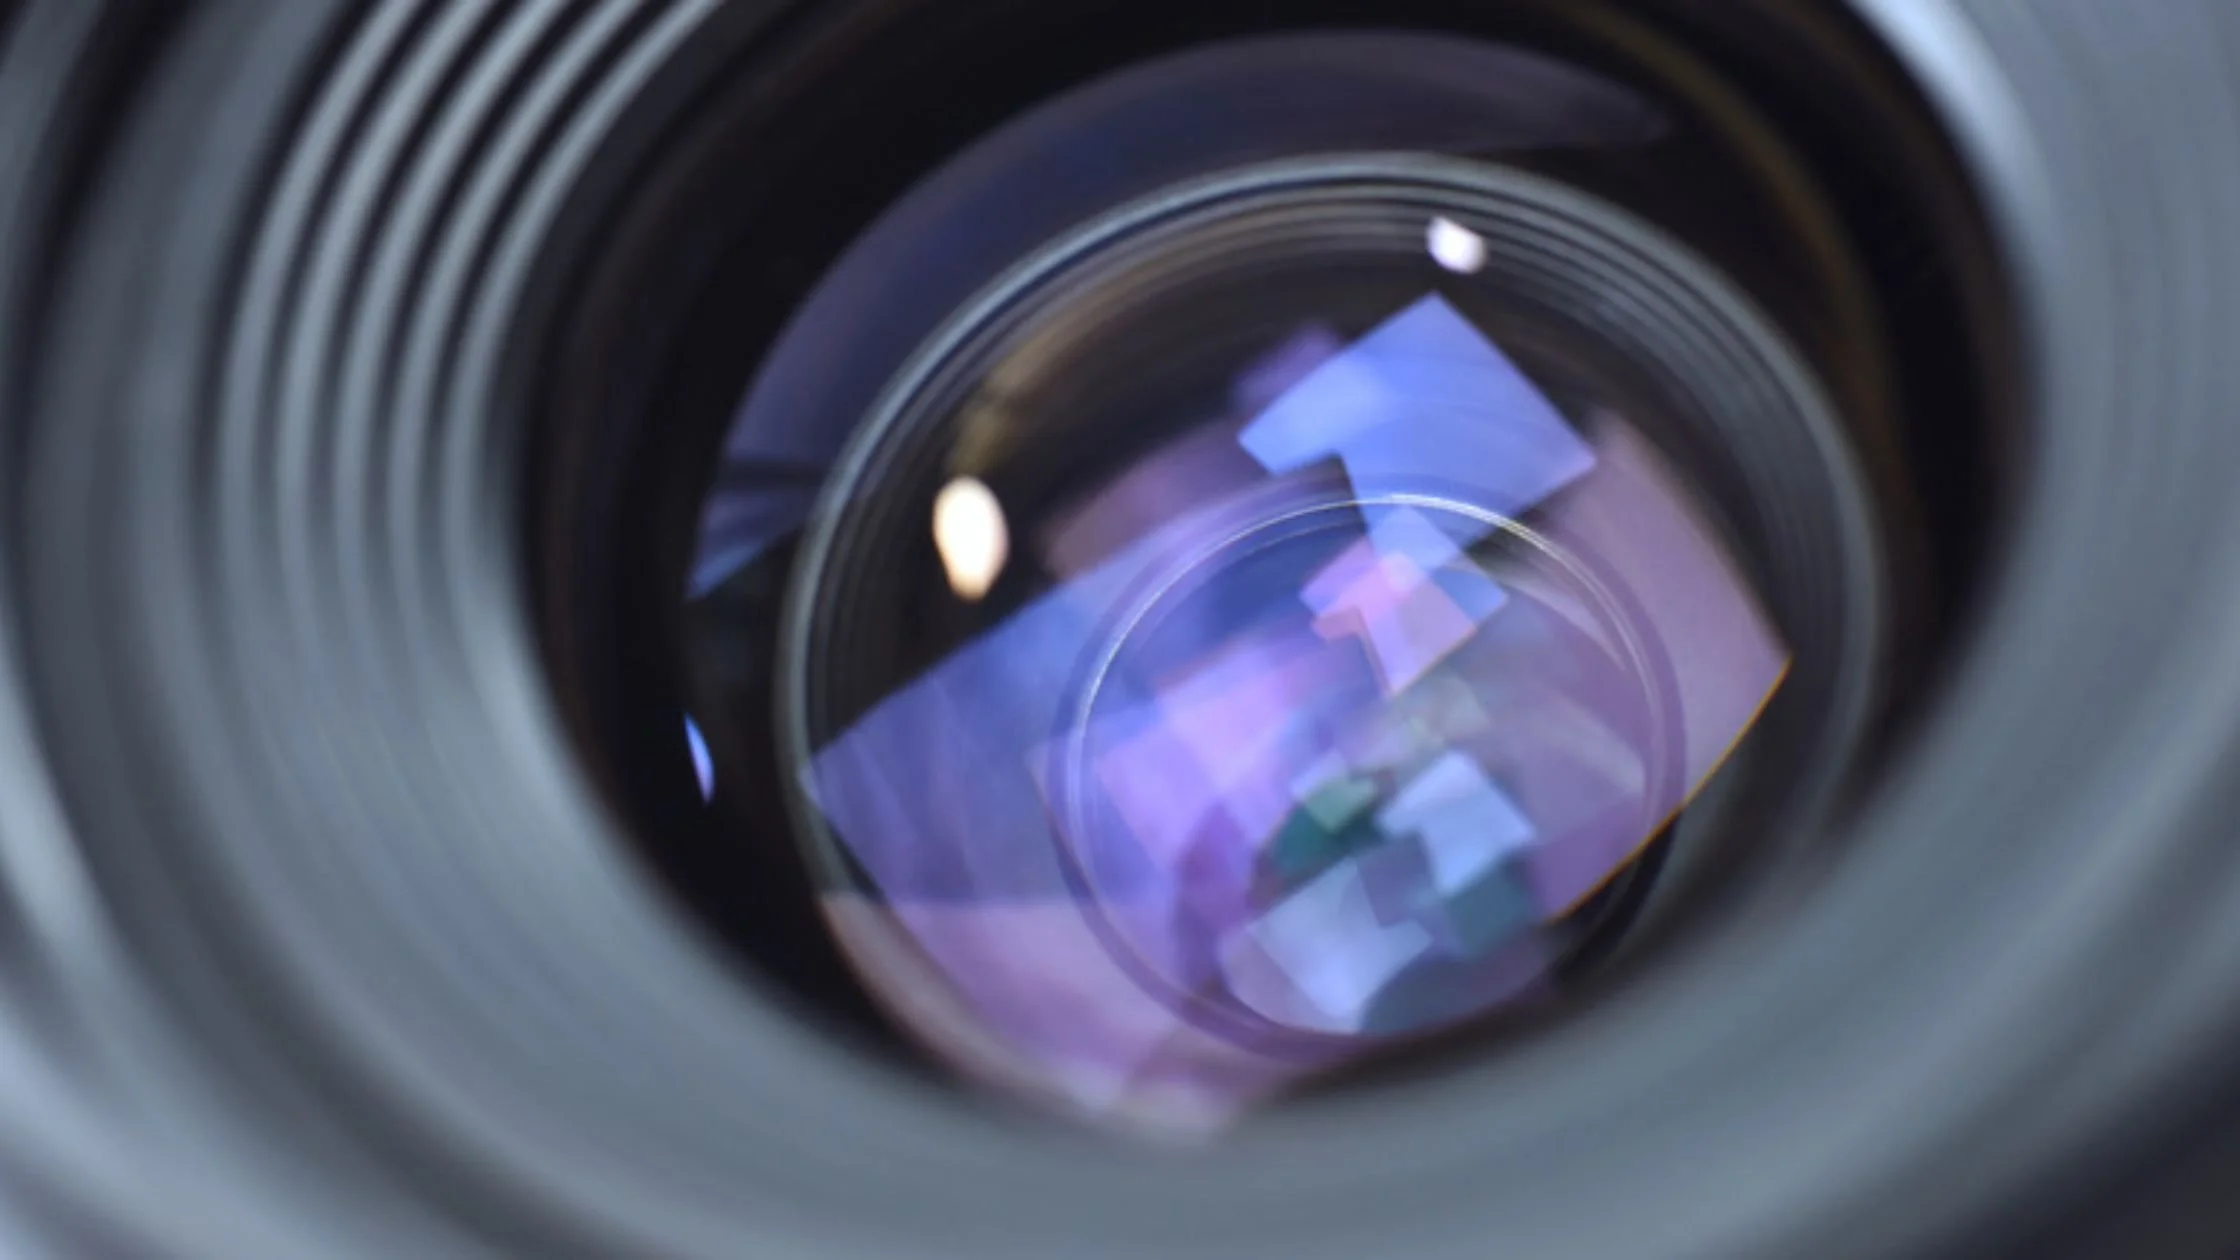
Common Aperture Mistakes Beginners Make (And How to Avoid Them)
Aperture is one of the most fundamental yet misunderstood settings in photography. It not only controls how much light enters your camera but also significantly affects depth of field, exposure, and image sharpness. Many beginners make common mistakes with aperture because it works in conjunction with other settings like ISO and shutter speed. These small errors can lead to overexposed images, blurred backgrounds, or unintended focus issues.
In this guide, we’ll break down the most frequent aperture mistakes beginners make, why they happen, and exactly how to avoid them, so you can capture the sharp, well-lit, and beautifully composed photos you’ve been aiming for. Before starting, If you're still getting familiar with the basics, this detailed guide on what aperture is in photography will help clarify how it works and why it matters.
What Are the Most Common Aperture Mistakes?
Beginners often confuse aperture with brightness only, overlooking its impact on depth of field. Many also choose the wrong f-stop for portraits or landscapes, resulting in either blurry or overly sharp backgrounds.
1. Misunderstanding the F-Stop Scale
One of the first hurdles is grasping how the f-stop numbers work. Beginners often assume that a higher number means a wider aperture—but it's actually the opposite.
F/1.8 is a large aperture (more light, shallower depth of field)
F/16 is a small aperture (less light, deeper depth of field)
How to avoid it:
Remember: the smaller the number, the bigger the opening. Think of it like a fraction—f/2 lets in more light than f/8.
👉 Learn more about f-stop numbers in this guide.
2. Using the Wrong Aperture for the Scene
Another frequent mistake is choosing an aperture that doesn’t suit the subject. For example:
Using f/1.8 for a group photo might leave people in the background blurry.
Using f/16 in low light without a tripod may cause motion blur.
How to avoid it:
Understand the effect of aperture on different styles:
Use wide apertures (f/1.8 to f/2.8) for portraits.
Use narrow apertures (f/8 to f/16) for landscapes or group shots.
👉 Explore the best aperture settings for various types of photography.
3. Overlooking Depth of Field Control
Aperture plays a major role in controlling depth of field. How much of the image is in sharp focus from front to back.
Beginners often want “blurry backgrounds” but don’t realize that:
Aperture
Focal length
Subject distance
…all affect the depth of the field.
How to avoid it:
If you're shooting a portrait and want creamy bokeh, use a wide aperture like f/2.8, zoom in, and move closer to your subject.
👉 Learn how aperture affects depth of field in detail.
4. Ignoring the Exposure Triangle
Some beginners set the aperture without considering the exposure triangle the balance between aperture, shutter speed, and ISO. A small mistake in one can ruin your exposure.
How to avoid it:
Use manual mode or aperture priority mode and always check your histogram. If you're shooting wide open and your photo is overexposed, either increase the shutter speed or lower the ISO.
👉 Understand how aperture vs shutter speed, vs ISO work together to get perfect exposure.
5. Forgetting About Lens Sweet Spot
Every lens has a “sweet spot” an aperture where the lens performs its sharpest. Beginners often shoot at the extremes (e.g., f/1.4 or f/22), which may cause softness or chromatic aberration.
How to avoid it:
Test your lens at different apertures and find the sweet spot, usually 2–3 stops above the widest aperture. For many lenses, it’s between f/5.6–f/8.
How Can You Learn Aperture Faster?
Start with aperture priority mode and experiment with various f-stop settings. Reviewing EXIF data and analyzing how aperture changes affect your images will accelerate your understanding.
Use Aperture Priority Mode
This semi-manual mode lets you control the aperture while the camera chooses the shutter speed. It’s the perfect way to train your eye to see how aperture changes affect photos.
Try Depth of Field Previews
Many DSLR and mirrorless cameras have a DOF preview button. Press it to see in real time how your chosen aperture affects what’s in focus.
Shoot the Same Scene with Different Apertures
Take the same photo at f/1.8, f/5.6, and f/16. Compare them side by side and observe the light, sharpness, and background blur.
Bonus Tips to Avoid Aperture Errors
Use a depth of field preview (if available), and always consider your subject-to-background distance. Keeping a cheat sheet of f-stop use cases helps avoid rushed mistakes.
Don’t Trust the LCD Only
Your screen might look okay, but zoom in or check histograms to ensure proper exposure and sharpness.
Watch Out for Lens Breathing
When adjusting focus, your field of view can change slightly. This is more common in cheaper lenses and can throw off the composition.
Use Manual Focus at Narrow Apertures
When shooting at f/11 or higher, focus peaking might struggle. Switch to manual focus to avoid hunting or misfocusing.
When Should You Use Extreme Apertures?
Use wide apertures (like f/1.8) in low light or to create soft bokeh. Narrow apertures (like f/16) are ideal for landscapes, but avoid going too narrow (e.g., f/22), which can introduce softness due to diffraction.
Wide Open (f/1.2–f/2.8)
Low light conditions
Isolating your subject
Portraits with blurred backgrounds
Narrow (f/11–f/22)
Landscape photography
Keeping foreground and background in focus
Daylight long exposures (with ND filters)
Final Thoughts: Mastering Aperture One Shot at a Time
Aperture isn’t just a number. it’s a creative tool that controls light, focus, and emotion in your image. By avoiding these common mistakes, you’ll begin to shoot with more confidence and purpose. Whether you’re aiming for sharp landscapes or dreamy portraits, understanding how to use aperture effectively can take your photography to the next level.
To explore more about photography education and visual storytelling in Aruba, check out our work at G10 Studio.
5 FAQs About Aperture Mistakes
Q1. Why are my photos blurry at f/1.4?
At f/1.4, your depth of field is extremely shallow. Even a small movement can result in missed focus. Use single-point focus and keep your subject steady.
Q2. Can aperture alone control exposure?
No. Aperture is one of three settings that control exposure. You'll need to balance it with shutter speed and ISO for correct lighting.
Q3. Why do my landscape shots lack sharpness at f/22?
At f/22, you may experience diffraction, which softens images. Use f/8 or f/11 for sharper results and focus stacking if needed.
Q4. What is aperture priority mode and why should I use it?
Aperture priority (A/Av mode) lets you set the aperture while the camera adjusts the shutter speed. It’s perfect for learning how aperture affects light and focus.
Q5. Is a lower f-stop always better for portraits?
Not always. While f/1.8 creates background blur, it can make eyes sharp but ears blurry. Use f/2.8 or f/4 if you need more of the face in focus.